
A drywall crack can be a small finish issue, a weak seam, or a sign that something behind the paint deserves attention. The line itself matters less than its location, direction, history, and what the room is doing around it. A lasting drywall crack repair starts by reading those clues before anyone reaches for compound.
That does not mean every crack is alarming. Houses settle, materials expand and contract, and some joints reveal themselves over time. The useful question is whether the crack is stable and cosmetic, or whether it is moving, recurring, wet, or tied to another change in the home. This guide helps homeowners make that distinction and understand what a clean repair should include.
Start by reading the crack
Take a photo before you touch it, then look at the full wall or ceiling rather than only the line. A fine crack that follows a straight drywall joint is different from a diagonal crack running from the corner of a door or window. A crack that appears after a plumbing leak needs a different conversation than one that has quietly stayed the same for years.
Check for other clues nearby. Do doors or windows bind? Has trim separated from the wall? Is there a stain, soft drywall, bubbling paint, or a musty odor? Is the crack growing, or does it reopen after each patch? None of those details alone prove the cause, but together they help determine whether a finish repair is appropriate or whether the underlying condition needs attention first.
Common drywall crack patterns
Most cracks fall into a few useful categories. Seams are common because two boards meet there, and the joint depends on tape and compound to keep the transition invisible. Fastener pops occur when a nail or screw loses its hold and the drywall shifts slightly. Hairline surface cracks can show up in older paint or a light layer of compound. Cracks at corners, door openings, and ceiling transitions deserve a closer look because those locations concentrate movement.
Usually a repair conversation
- Fine, stable seam crack with dry, firm drywall
- Localized loose tape or a small fastener pop
- Old cosmetic crack with no active change
- Small surface crack away from water, openings, and corners
Pause and investigate
- Crack is widening, returning, or spreading
- Diagonal crack at a door or window corner
- Water stain, softness, sagging, or bubbling paint
- Doors, windows, trim, or floors are changing nearby
- Crack appears with visible separation at a ceiling or wall junction
Normal seasonal movement can make a thin cosmetic crack appear or change slightly, especially at a joint. But a repair that keeps reopening deserves more than a thicker application of mud. The repair needs enough reinforcement for the joint and, when possible, an honest look at why the movement is occurring.
Location helps narrow the possibilities. A straight line down a wall often follows a drywall seam. A small round bump or tight crack around a fastener can point to a pop. A crack where wall meets ceiling may reflect normal movement between framing members, but repeated separation in that area makes a flexible transition or a closer inspection more relevant than simply filling the line. The pattern gives the repair plan its starting point.
When a crack is not just a finish issue
Water changes the decision. If the crack sits near a stain, a bathroom, a roof line, a window, plumbing, or a ceiling that feels soft, do not treat it as a dry finish problem until moisture has been ruled out. Moisture can weaken drywall paper, compound, and framing connections, then turn a cosmetic patch into a repeat repair. See Sterling’s guide to water-damaged drywall for the order of operations when a leak may be involved.
Movement also changes the decision. A new crack above a doorway can come from normal settling or a stressed joint, but a widening diagonal crack paired with a sticking door calls for more observation before patching. If you are concerned about the structure, a qualified professional who can evaluate that concern is the right first call. Drywall repair can restore the finished surface after the cause has been addressed. It cannot diagnose or correct every source of movement behind it.
For homes built before 1978, take dust control seriously before sanding, scraping, or cutting painted surfaces. The EPA explains that renovation and repair can create lead dust in older homes, and its lead renovation guidance is a good starting point for understanding when added precautions may apply.
What a lasting drywall crack repair looks like
Once the cause is stable and the area is safe to work, the repair should address weak material rather than bury it. That often means protecting the room, cutting away loose tape or compound, opening the crack just enough to remove unstable edges, and checking whether the drywall is still held firmly to the framing. A popped fastener may need a secure new screw set into solid framing. A loose seam may need the failed tape and compound removed before a new taped joint is built.
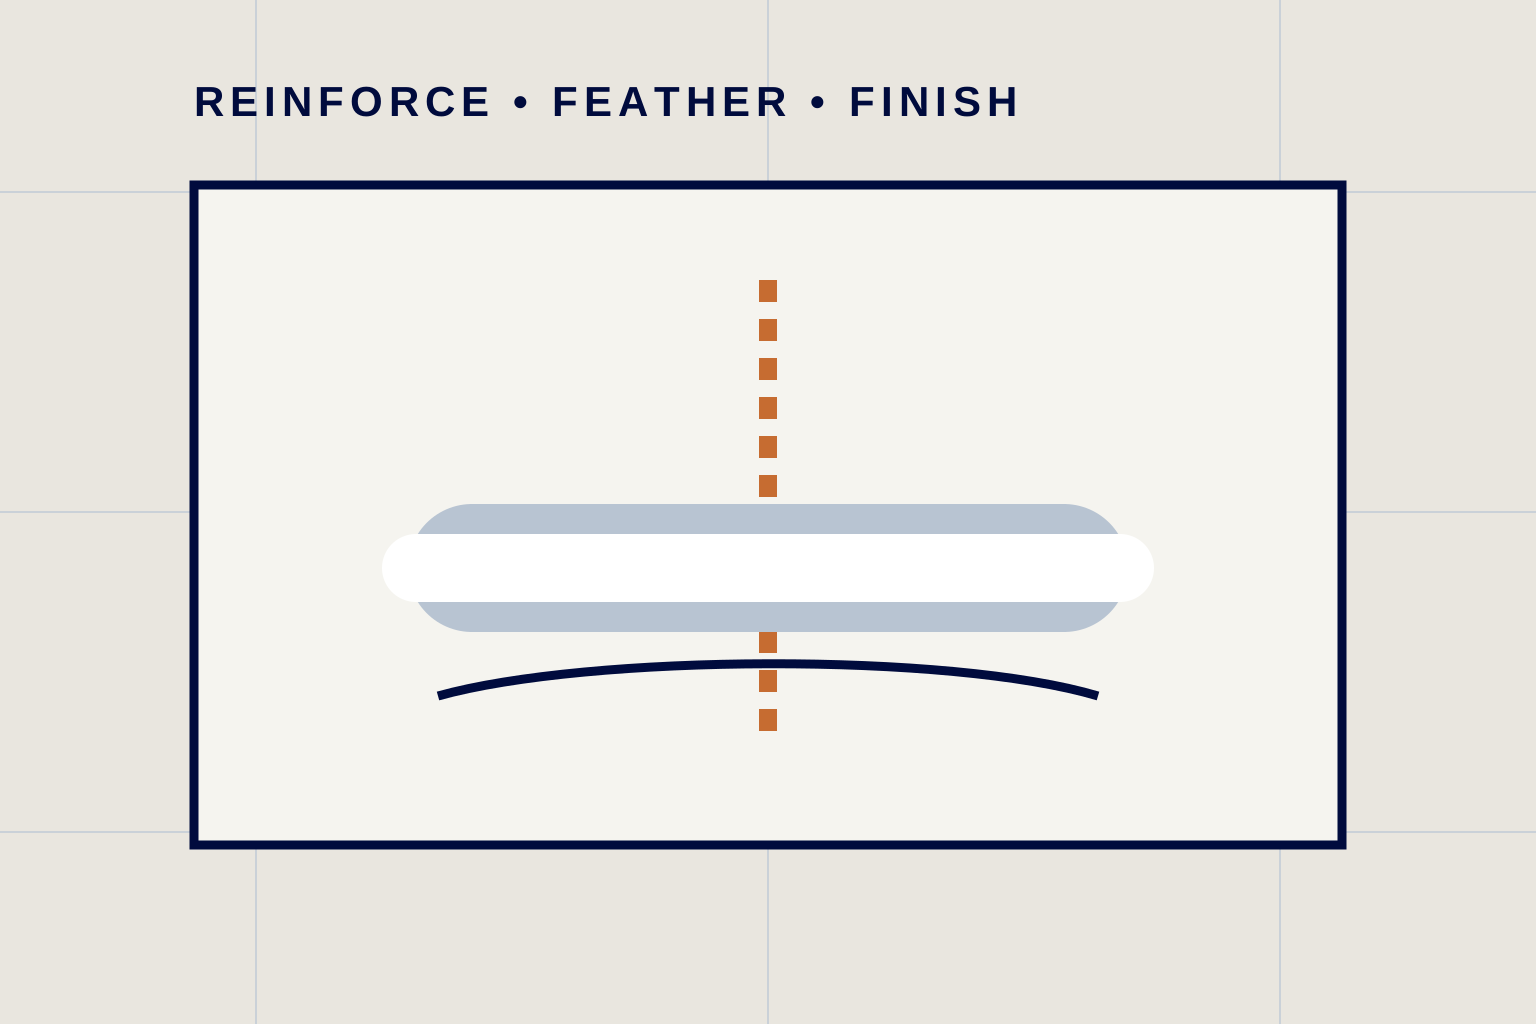
For a typical seam crack, the basic sequence is straightforward: clean out loose material, reinforce the joint with compatible tape, embed it in compound, then apply thin, wider coats that feather into the surrounding wall. Each coat needs time to dry before sanding or adding the next one. The finish should be broad enough that the repair disappears gradually instead of leaving a narrow ridge that catches side light.
The details matter. Paper tape, mesh tape, setting compound, premixed joint compound, and corner materials each have useful roles, but the right choice depends on the crack and the surrounding surface. The practical goal is not to chase a particular product. It is to rebuild a stable transition, keep it flat, and match the existing texture and paint without creating an obvious patch.
Do not rush dry time to make the repair fit into one afternoon. Compound that looks dry on the surface can still be soft underneath, and sanding too soon can pull or gouge the repair. Follow the material instructions, keep the room ventilated, and use a work light across the wall before priming. Side light is unforgiving, which makes it useful for finding ridges while they can still be corrected. A final primer coat also helps reveal whether the surface is ready for paint.
Why texture and paint can make a small crack feel like a big job
A wall can be structurally sound and still look unfinished after a rushed repair. Light raking across smooth walls exposes humps, ridges, and narrow bands of different sheen. On orange-peel or knockdown texture, the challenge is matching the surrounding pattern without leaving an overly smooth rectangle or a heavy sprayed island.
Paint is part of that finish decision. Touch-up paint may blend well when you have a good match and the surrounding paint is recent. Older paint can fade, yellow, or change sheen, making a whole wall or ceiling plane the cleaner option. A clear scope should say whether the repair is ready for paint, includes a touch-up, or includes a broader blend. Sterling’s drywall repair cost guide explains why finish expectations often matter as much as the size of the crack.
This is also where patience earns its keep. Drywall compound shrinks as it dries, which is why several thin, widening coats usually produce a flatter result than one heavy coat. Sanding should flatten high spots without cutting through tape or scuffing a broad area of intact paint. Good dust control matters in every occupied room, and it matters even more in an older home. The goal is a repair that reads as part of the wall at normal viewing distance, not just a crack that is temporarily hidden.
What you can document before asking for help
A few good details make an assessment much more useful. Photograph the crack from close range and from across the room. Include nearby doors, windows, trim, or ceiling lines. If the crack has changed, note when you first saw it and whether it opens and closes seasonally. If there was a leak, say whether it has been fixed and whether the area is dry.
- Take wide and close photos. A contractor needs to see the crack and the room context.
- Note the location. Identify whether it is on a wall, ceiling, corner, opening, stairwell, or exterior-facing surface.
- Watch for change. Mark the ends lightly with pencil or compare photos over time if the crack seems active.
- Describe related symptoms. Mention sticking doors, water staining, loose trim, prior repairs, or nearby work.
- Protect older painted surfaces. Pause before sanding or demolition in a pre-1978 home until you understand the proper precautions.
It also helps to be specific about the finish. A smooth wall, a hand-troweled texture, an orange-peel pattern, and a popcorn ceiling all call for different repair and paint decisions. Mention if you still have the original paint or know the sheen. If several cracks or wall repairs are in the same room, photograph the group rather than requesting separate fixes one at a time. A coordinated visit can make the setup, floor protection, and paint planning more efficient.
When to call a professional
Professional help is sensible when a crack returns, runs through a textured ceiling, affects a high wall or stairwell, follows water damage, or needs to blend into a finished room. It is also worth calling when the repair needs careful diagnosis before the surface is closed up. A small crack can be a simple project, but chasing the same crack three times is rarely the economical choice.
Sterling Handyman & Repair helps homeowners in Saratoga Springs and nearby communities assess localized drywall problems, repair stable seams and surface damage, and finish the work with the rest of the room in mind. For larger contractor-level scopes, Sterling’s licensed B-100 capability supports that broader conversation. Review the handyman and contractor services, then send photos and a short description through the estimate request page for a more useful starting point.
For a straightforward crack, the most useful estimate begins with the problem, not a guessed square-foot price. Share how long the crack has been visible, whether it has been repaired before, and whether anything changed around the same time. That gives the repair professional a fair chance to distinguish a stable finish repair from a condition that needs another trade or a more detailed review. It also helps prevent a visit from being spent on a temporary cosmetic fix when the homeowner really needs a lasting plan.
Common questions
Drywall crack repair FAQ
Can I just fill a drywall crack with spackle?
A very fine, stable surface crack may accept a light cosmetic fill, but a seam crack or crack that has opened before usually needs loose material removed, reinforcement with tape, and feathered joint compound. Filling a moving crack alone often creates a temporary disguise rather than a repair.
When should I worry about a drywall crack?
Look closer when a crack is widening, returning after repair, running diagonally from a door or window corner, paired with a sticking door or window, accompanied by sagging, water staining, or visible separation. Those signs do not diagnose a structural problem by themselves, but they make a paint-only repair a poor first move.
Why do drywall cracks come back?
They commonly return because the underlying seam, fastener, framing, moisture issue, or movement was never addressed. Joint compound can smooth a surface, but it does not hold two moving panels together by itself.
Should drywall cracks be taped?
Cracks at seams or cracks that have opened enough to expose a weak joint are usually better reinforced with drywall tape embedded in joint compound. The exact preparation depends on the crack location and the condition of the surrounding board.

